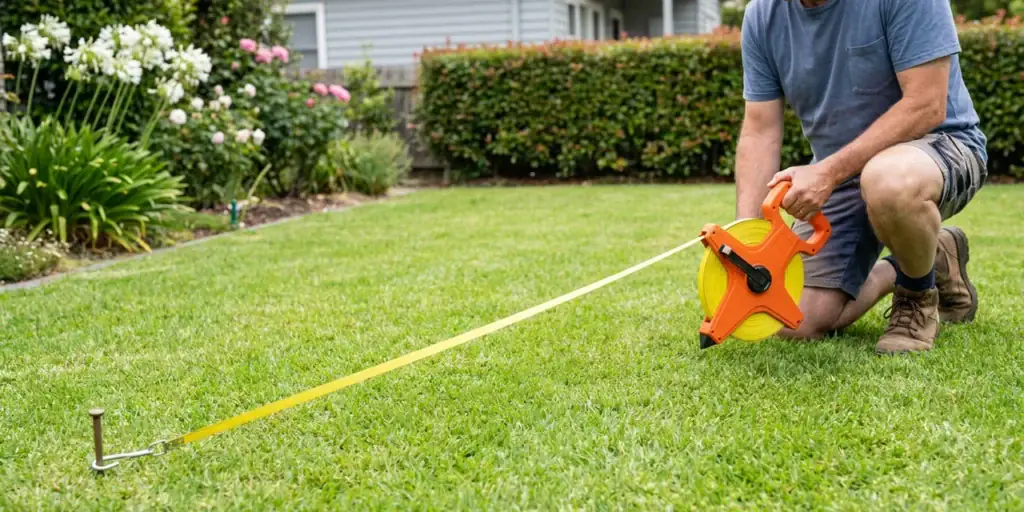

Dry patches do not always mean your lawn needs more watering. Some areas may be missing out while others receive too much. A catch-can test shows where the water lands and how quickly your sprinklers apply it, so you can fix the problem rather than just add more minutes.
You can start with matching containers, a ruler and a timer. Work through one sprinkler zone at a time. A zone is the group of sprinklers that runs together.
Why run a sprinkler audit, and when?
An audit helps you check coverage, find problems worth investigating and set watering times from actual measurements. It is useful:
- When dry patches, unusually wet areas or runoff appear.
- When water use rises without an obvious reason.
- After installing a system, replacing sprinklers or changing the lawn layout.
- Before the main watering season, or as part of regular grounds maintenance.
- After repairs, to check whether they improved the result.
This is a practical check for an existing lawn system. If a commercial site needs a formal audit or certification, follow its required test method and use a suitably qualified auditor.
What you will need
- At least 24 matching, straight-sided, flat-bottomed containers, or purpose-made irrigation catch cups.
- A ruler marked in millimetres, a timer and a calculator.
- A simple sketch of the lawn and somewhere to record the readings.
- Access to the irrigation controller so you can run one zone by itself.
The containers should be open, stable and easy to read. With calibrated catch cups, follow their scale and instructions; the depth inside a tapered drinking cup is not a direct measure of water applied to the lawn.
1. Choose a zone and a calm day
Check local watering and testing rules before starting. Choose a calm day without rain, and test one zone at its normal settings. Wind can move the spray and make the results harder to compare.
Make a note of the zone, weather and controller settings. Keep other water use similar when you repeat the test.
2. Walk the zone and fix obvious faults
Run the sprinklers briefly and look for broken heads, water bubbling from the ground, leaking seals, blocked spray and water landing on paths. Check leaks early: escaping water can lower pressure and reduce what the sprinklers deliver, and it may not land in your catch cans at all.
Check that heads rise properly, stand upright and are not hidden by grass. Switch the zone off before cleaning or replacing parts. If a part is damaged, match the replacement to the existing system. Browse sprinkler nozzles or pop-up sprinklers as appropriate.
Repair clear faults before collecting your baseline readings.
3. Set out and number the containers
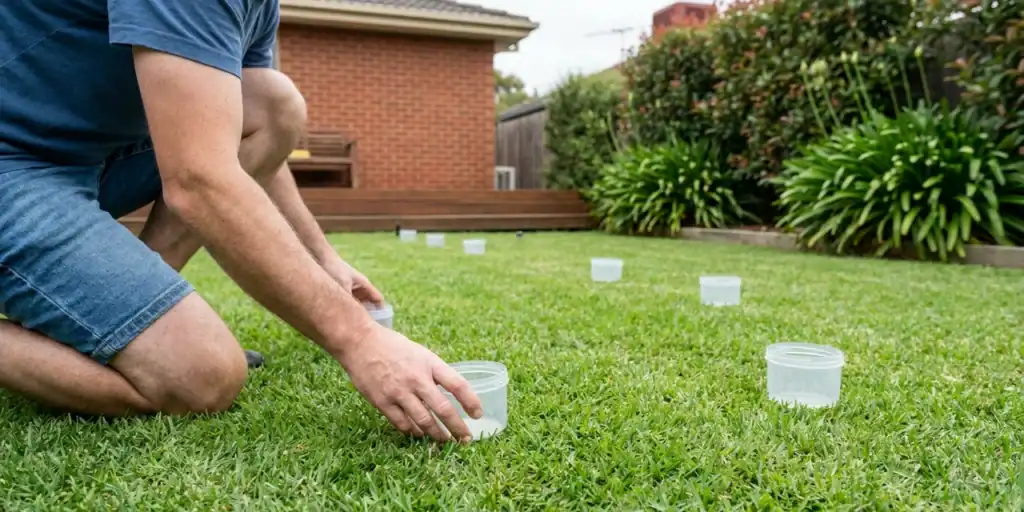
With the zone off, spread the containers on a reasonably even grid across the lawn it waters. Include the spaces between sprinklers and towards the edges, not just the patch you are worried about. Keep the openings level, clear of grass and out of direct contact with a sprinkler outlet.
Number the containers and mark their positions on your sketch. This lets you trace a low or high reading back to its place on the lawn.
4. Run a timed test
Start the zone and timer together. Run it long enough to collect a readable amount of water. Twenty minutes is a useful example test length, not a recommended watering schedule; slower-applying systems may need longer.
Watch while it runs. Record anything unusual, including water escaping, spray falling outside the lawn or runoff. If runoff starts, stop and note the actual elapsed time. Do not keep watering just to finish a planned test duration. If the water is too shallow to read, repeat with empty containers and a longer timed run, watching for runoff again.

5. Read each container and mark wet and dry spots
Once the zone is off, measure the water in every container. Write each reading, in millimetres, beside its number on the sketch. Include empty containers as zero; do not leave them out of the average.
Look for patterns before reaching for the calculator:
- Several low readings together: check for an obstruction, blocked nozzle or a gap in coverage.
- Several high readings together: check for a tilted or damaged head, an incorrect spray arc or water escaping nearby. Normal sprinkler overlap is part of good coverage.
- Low readings across much of the zone: investigate supply, pressure or faults rather than assuming every nozzle needs replacing.
These are clues, not diagnoses. Mark both wet and dry areas. A reasonable average can hide a very wet corner, and longer watering may worsen that corner without fixing the dry patch.
6. Work out how quickly the zone waters
Add the readings and divide by the number of containers to find the average depth. Then convert it to an hourly rate:
Watering rate (mm per hour) = average depth ÷ actual test minutes × 60
For example, an average of 10 mm in 20 minutes means 10 ÷ 20 × 60 = 30 mm per hour. This is often called the precipitation rate: simply how quickly water lands on the lawn.
Want to calculate a uniformity score?
Average the lowest quarter of your readings (with 24 containers, the six lowest). Divide that figure by the overall average and multiply by 100. If every container is empty, investigate the system and test setup instead of calculating a score.
If the lowest six average 8 mm and all containers average 10 mm, the score is 8 ÷ 10 × 100 = 80%. This is lower-quarter distribution uniformity, or DUlq. A result of 100% means every catch received the same depth. It does not mean the watering amount was right.
Published US New Mexico State University landscape-audit guidance rates 75% for fixed sprays and 80% for rotors as excellent. These are reference ratings, not universal Australian pass marks; a commercial site should use its specified target. Keep your wet-and-dry sketch as well as the score.
7. Investigate, adjust and test again
Use the pattern to choose the next check. Clean blocked nozzles, correct spray direction and investigate leaks. For coverage gaps, compare the spacing and spray reach with our sprinkler layout guide.
If pressure needs checking, measure it while the zone is running and compare it with the sprinkler manufacturer’s instructions. Use equipment that suits the head: options include Hunter MP pressure test kits for compatible pop-up connections and rotor pressure test kits for gear-drive sprinklers. Check compatibility before buying; you do not need a pressure kit just to start the catch-can test.
Have the system’s design figures?
Compare your measured rate with the expected rate: total nozzle flow (L/min) × 60 ÷ lawn area (m²). Use nozzle flows at the design operating pressure, not an unrestricted tap-flow reading. Our lawn measurement guide can help with the area.
For example, 60 L/min over 100 m² gives 36 mm per hour. If the catches show 30 mm per hour, investigate the difference. It does not tell you how much water is leaking, or prove that a leak is the cause. You can still run a useful catch-can check without these design records.
After repairs or adjustments, repeat the test with the same container positions and similar conditions. Compare the readings, not just how the spray looks.
8. Review the watering schedule and keep a record
Once faults are addressed, use the measured rate to help set run times for the lawn’s needs, soil, recent rain and local watering rules. Do not automatically increase every run time to satisfy the driest container.
More water in a can does not automatically mean overwatering: check whether that part of the lawn actually needs less, stays soggy or starts shedding water. If water runs off before enough has soaked in, shorter runs with time between them may help; persistent problems need further investigation.
Keep the date, zone, test duration, catch readings, weather, repairs and controller changes together. That record makes the next check easier and shows whether your changes helped.
Want a system audit or a professional review of your irrigation? Book a Professional to discuss the job.
Last updated: 11 November 2026