All mains powered (and some battery controlled) controllers require solenoid valves to be wired into the controller. For many first timers it may not be as obvious what to do, so we’re here to help out!
Once you’ve worked out how many zones you require to water your garden, you’ll know how many solenoid valves are needed. [The maths for those who don’t know: Number of Zones = Number of Solenoid Valves]
Based on the number of solenoid valves, you can determine what size Irrigation Cable you need. Wiring for solenoid valves is commonly available in “multi core”. This means there are several individually insulated wires of different colours, wrapped in an outer insulation.
Upto 2 valves: 3 Core Irrigation Cable
Upto 4 valves: 5 Core Irrigation Cable
Upto 6 Valves: 7 Core Irrigation Cable
Upto 8 Valves: 9 Core Irrigation Cable
Upto 12 Valves: 13 Core Irrigation Cable
You may have noticed a trend, you will always require at least one extra wire. You will need one individual wire for each solenoid valve and one common wire to be shared by all the solenoid valves.
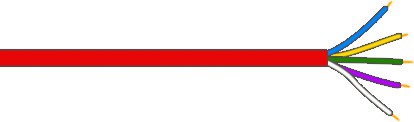
5 Core Irrigation Cable
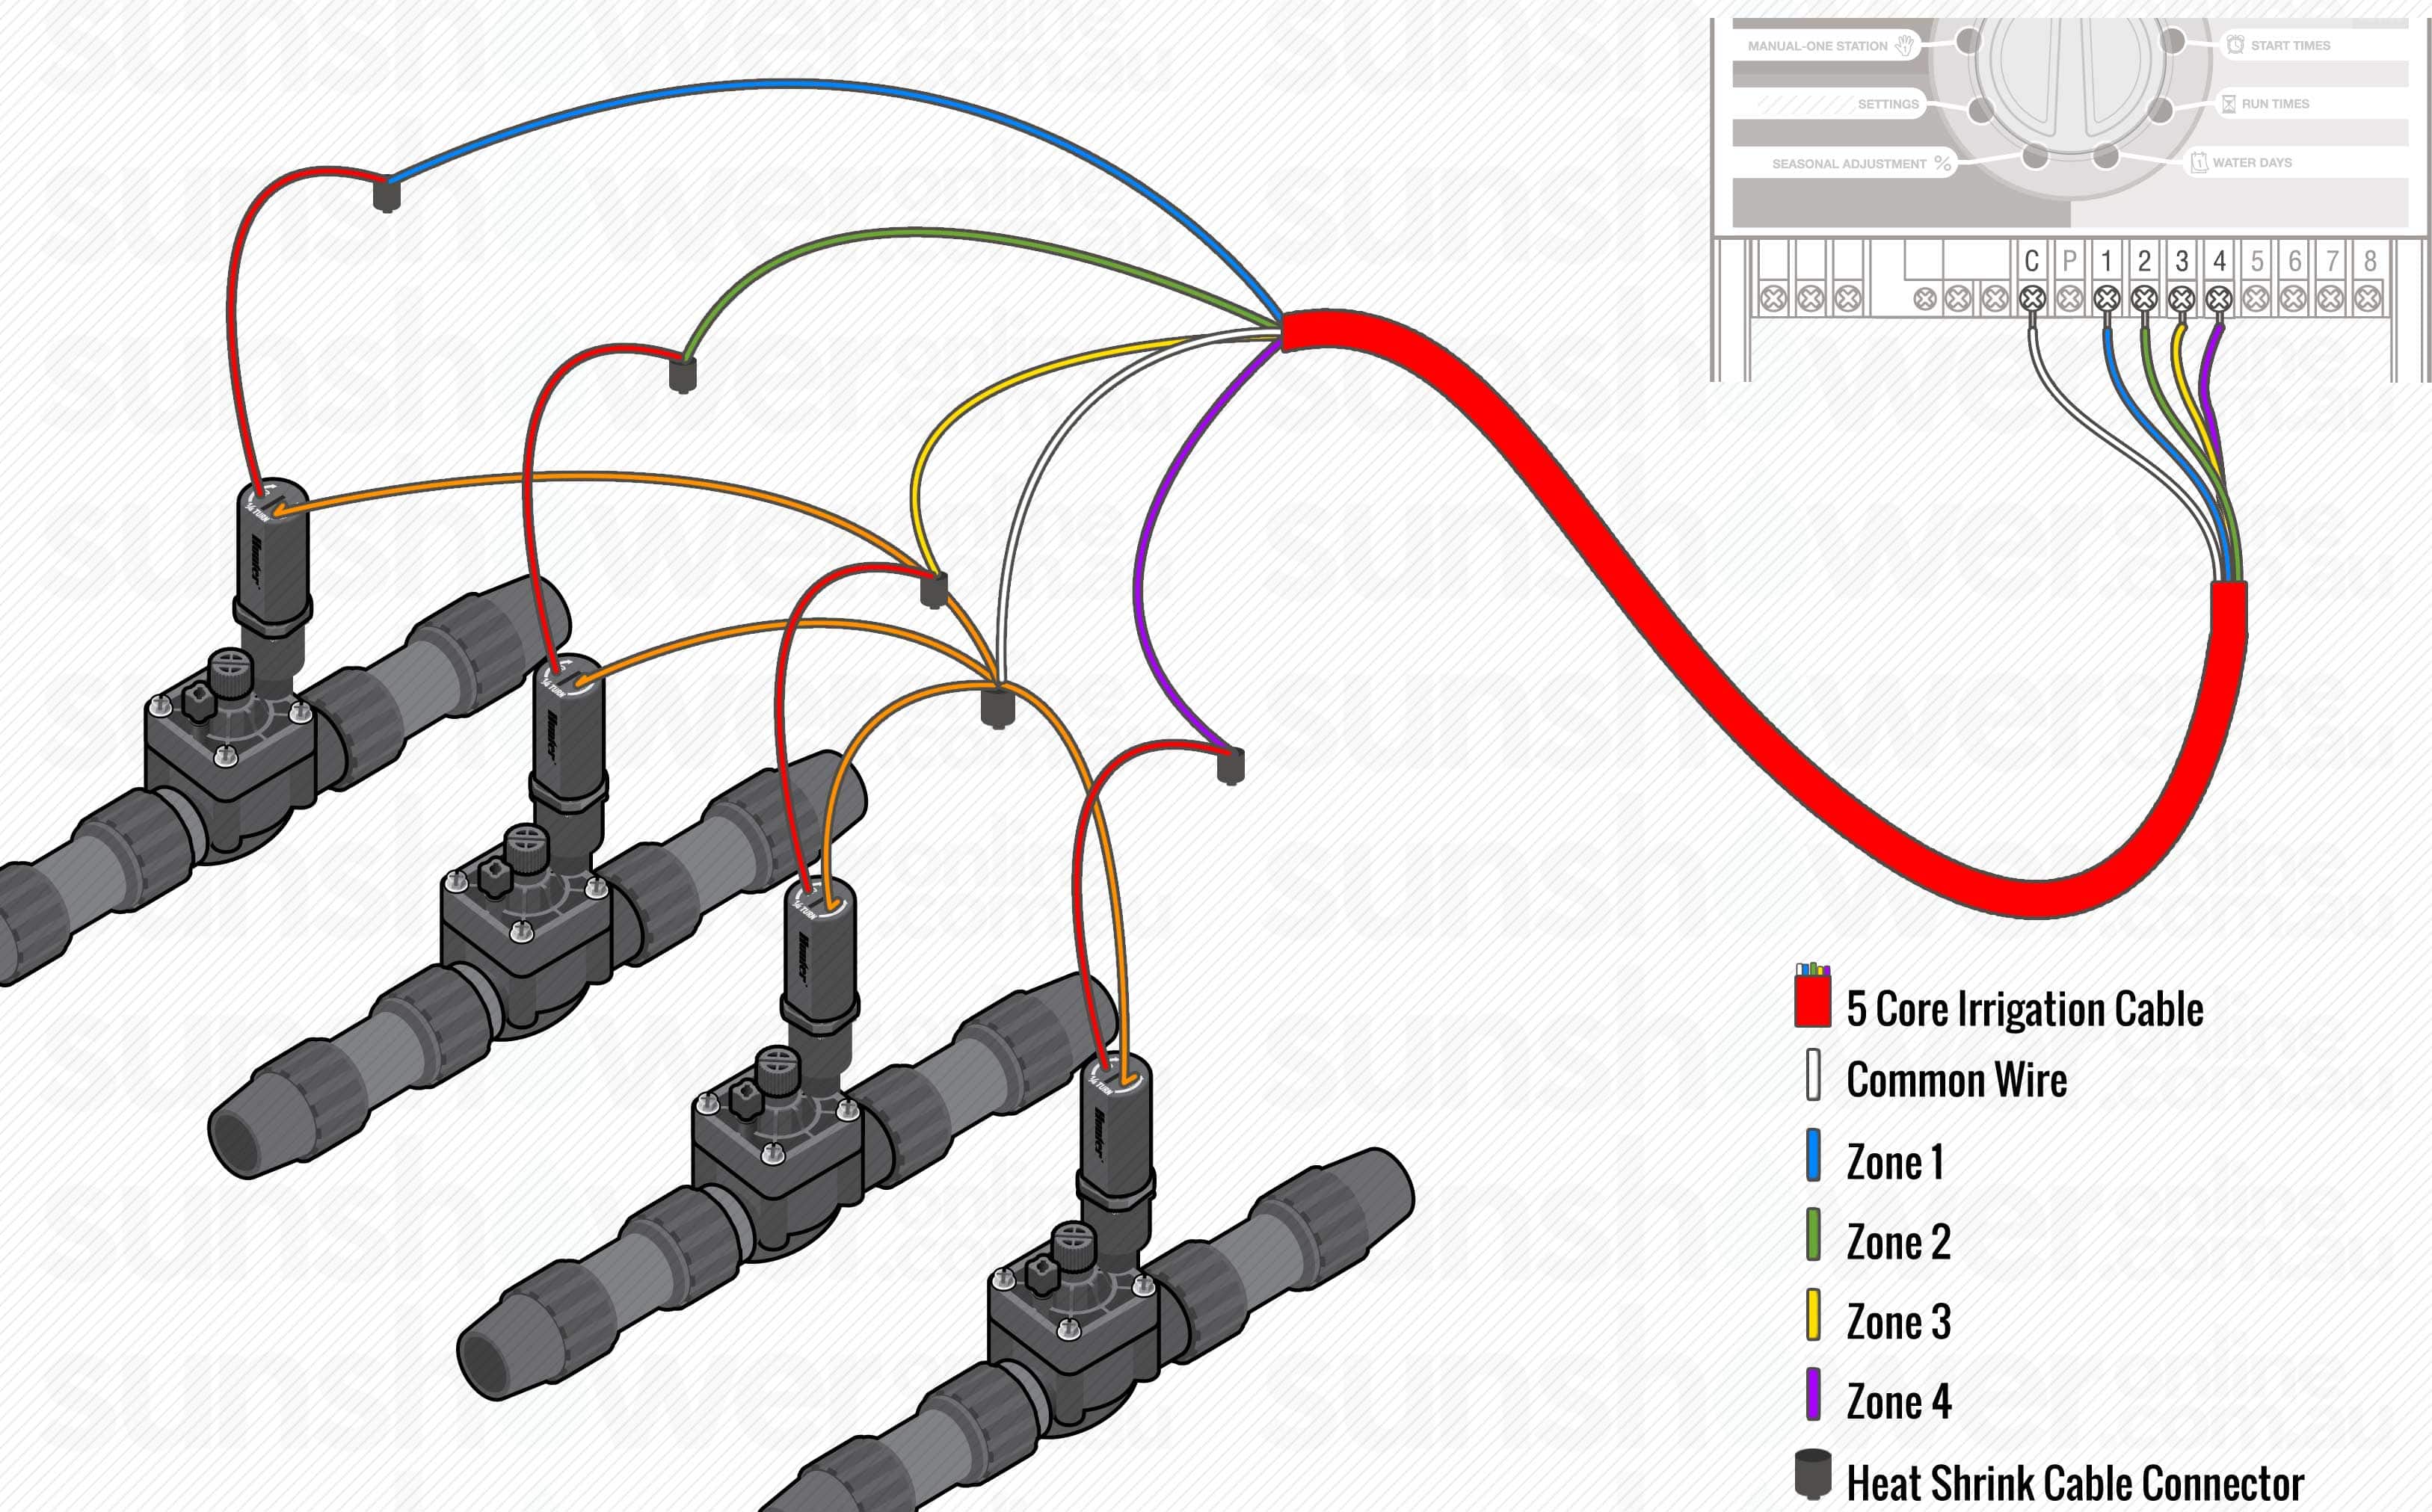
To begin wiring at the controller, with the power off, pull back the outer sheathing exposing the individual wires. Strip 10mm off each of the individual wires. We are in the habit of using white for the common wire however the colour you use isn’t important as long as the colour of your common wire is consistent. Place your common wire onto the common terminal.
For zone wiring, place the remaining coloured wires onto the numbered terminals. Don’t connect wires into terminals that will not be used.
At the solenoid valves, pull back the outer sheathing exposing the individual wires. Strip 20mm off each of the individual wires. Take 1 wire only from each of the solenoid valves (not important which of the 2 wires you take) andtake the coloured wire you have nominated as your common wire and twist them all firmly together. If you have 4 solenoid valves, you have now twisted 5 wires together including your common wire.
Take one zone wire and the remaining wire from the solenoid and twist them firmly togethor. Do this for all your valves.
Seal all wire joints with a waterproof joiner. Our preference is to use heat shrink cable connectors.
 For illustrative purposes the second cable from the solenoid has been recoloured brown to distinguish the different cables.
Happy Irrigating!
Aki Iyer
SunshowerOnline